| |
take a look...


| |

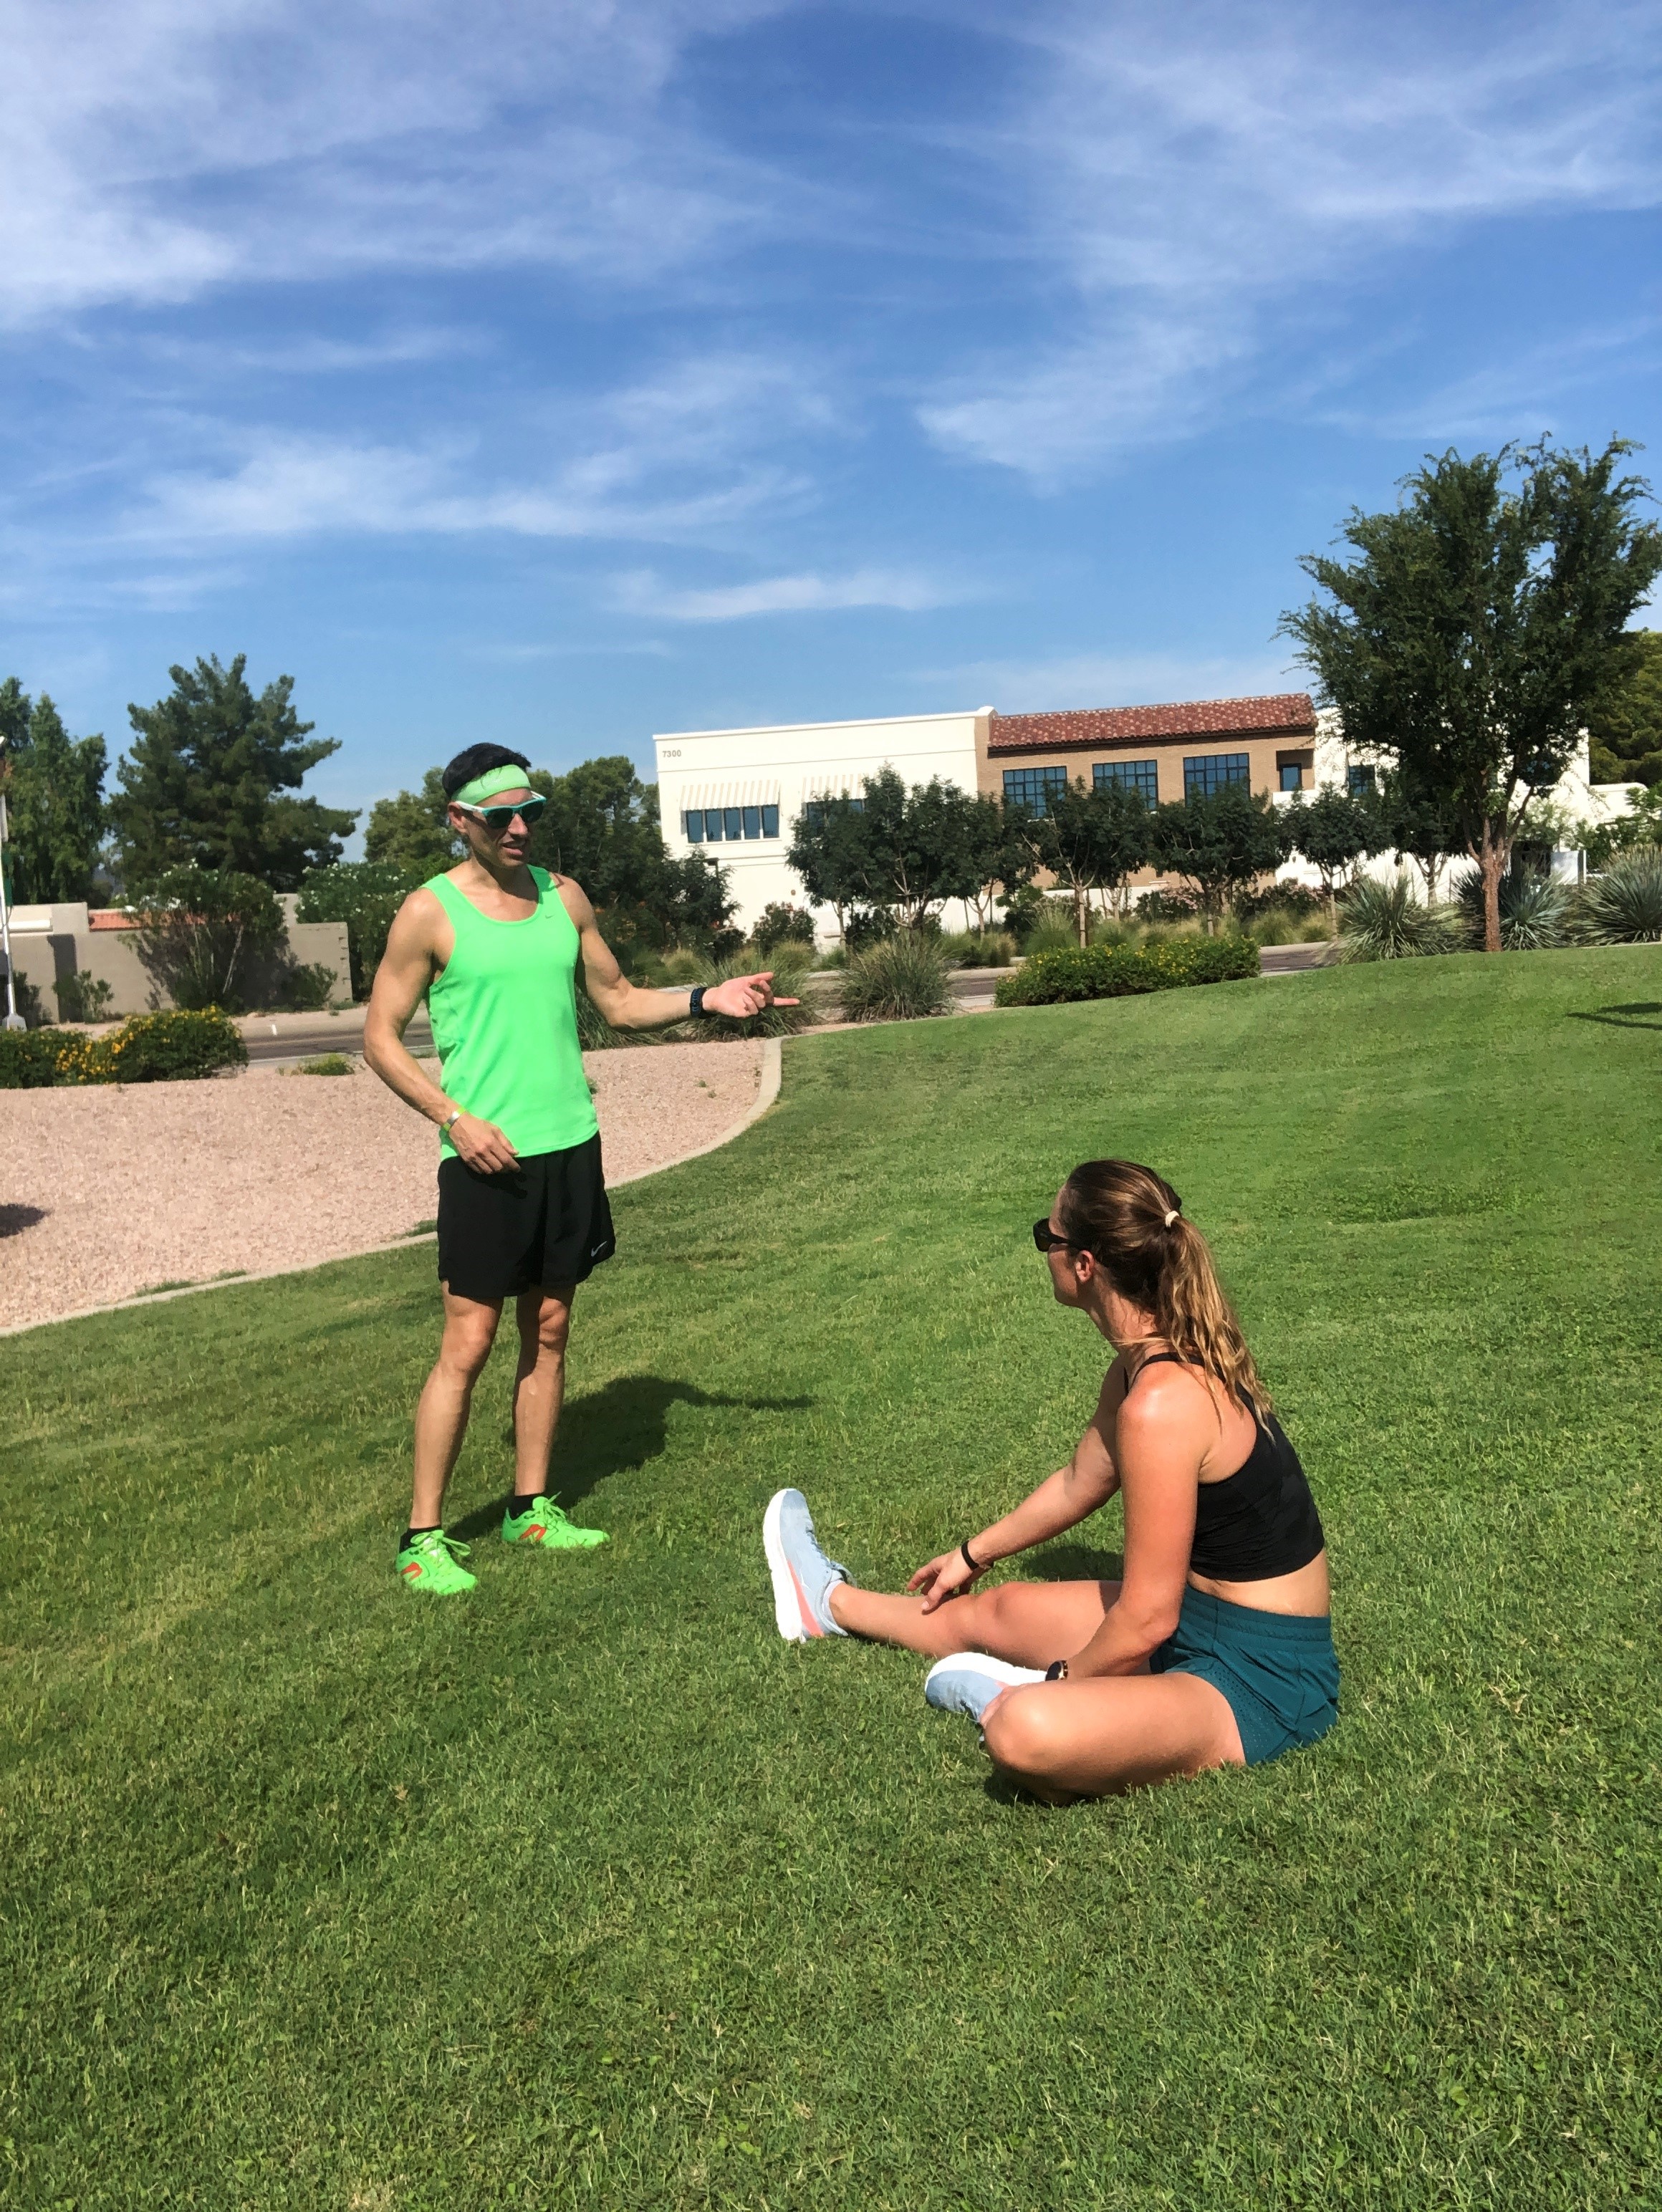
1. Start Slowly.
The older we are, the slower we should start. First things first - get a new pair of running shoes. Don't try to start running in those old running shoes you've had since college, that you use to mow the lawn in. Also, ditch the cotton socks - get some sweat-wicking, active wear socks.
Next, we'll want to keep our run portions relatively short. When we go out for the first time, many new runners start feeling great and push themselves to see how far they can go. Some may go as much as 5 miles or longer. The problems arise in the day(s) after. The body is broken down & has a hard time recovering, or we may even become injured.
We can still go out and enjoy a good 30 minutes or longer, we just need to incorporate frequent walk breaks. An example could be 10 x 1 min jog / 2 min walk. We are still out on our feet for 30 minutes, but our body has only endured the pounding on the pavement for 10 of those minutes. daily life. The other 20 minutes were spent recovering from each jog portion. This approach works two-fold; we are building running strength in our muscles, joints, & tendons, and we are also building endurance.

2. Strength Training
Even if you do not have access to a gym, or weights at home, you can (and should) still do strength work. This can be as little as body weight core-strengthening exercises. A strong body serves as the vehicle that can absorb the impact of running.
Don't worry, you're not going to end up looking like a bodybuilder. alf marathons. You will be strong and fit, not big and bulky. You will be lean with muscle and have lower body fat. Our bodies endure a lot of trauma through running and we need strong muscles and tendons to withstand this damage.

3. Be Consistent
The key to success in anything is consistency. Running is no different! I work with beginning runners to set themselves up for success by finding the right balance for them to stay consistent with their running and other activities, while not over-training and getting burned out.
Everybody is different. Every person has their own personal time constraints, which determines how much time they have each week to dedicate towards their personal fitness. Finding a healthy balance and sticking to it each week is critical for long-term success!
INCORPORATING THESE 4 THINGS INTO OUR DAILY ROUTINE ARE IMPERATIVE TO STAYING HEALTHY, AND INJURY FREE!
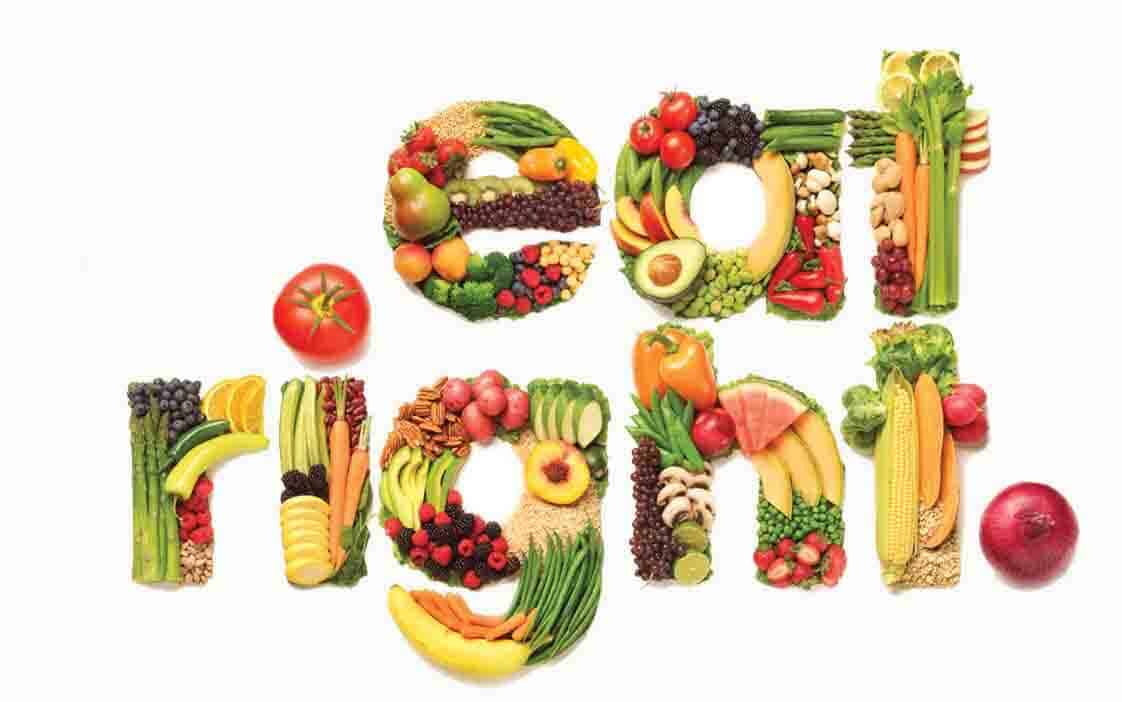
1. Nutrition
To have a strong body, we need to properly fuel it. Whatever your dietary preferences, the three most important things to avoid aer; alcohol, added sugars, & processed foods. If we eliminate these three things, we will lose body fat and gain lean muscle. How much fat we lose and how much lean muscle we gain depends on what we actually put into our body and how much strength training we incorporate.

2. strength training

3. Sleep

4. Proper shoes
-----------------------------------------------------------------------------------------------------------------------------------------------------------------
Click on a link below for one of my favorite pre or post run treats!


recipes
I'm definitely nothing special in the kitchen. However I love preparing and cooking my own meals! As you can see, I don't have a professional camera and my culinary skills are average, but that doesn't stop me from trying new recipes and experimenting in the kitchen. Below are some of my favorites!
"YOU DON'T HAVE TO COOK FANCY OR COMPLICATED MASTERPIECES - JUST GOOD FOOD FROM FRESH INGREDIENTS."
- JULIA CHILD
-----------------------------------------------------------------------------------------------------------------------------------------------------------------
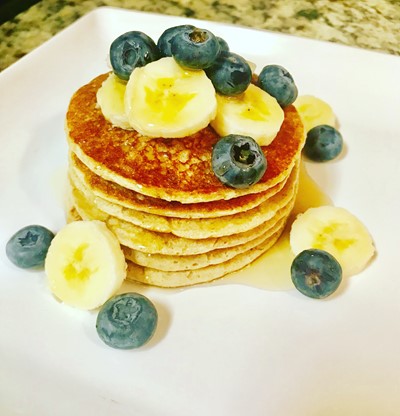
GLUTEN-FREE BLUEBERRY PANCAKES
How do elves eat their pancakes? -- In short stacks!
This is one of my favorite go-to recipes. I love coming home from my long run on the weekend and throwing this together. It's so nice because I can vary the recipe to make a little bit more if I'm hungry and as you can see, I like to change up the toppings! With a little practice you can also add chocolate chips, cinnamon, or walnuts - SO MANY POSSIBILITIES! Natural ingredients, super easy to make, and really good!
Ingredients:
1 cup coconut milk
1 cup oats
1/4 cup coconut flour
1/4 tsp baking soda
1/3 cup blueberries
1/4 tsp vanilla
1 tsp vinegar
2 eggs
1 banana
- Pour the coconut milk in first. Whether you're using a vitamix (what I use), or food processor, this prevents the flour and oats from clumping up at the bottom.
- Use a nonstick griddle. To prevent these pancakes from sticking, I would recommend a nonstick griddle or frying pan. My griddle is a life-saver. So easy to make these, and so easy to clean!
- Eat right away, or store them in the fridge for later. Very rarely do I have the discipline not to eat all of these, but when I do, these stay fresh in the refrigerator and are just as good the next day after you heat them up!
-----------------------------------------------------------------------------------------------------------------------------------------------------------------
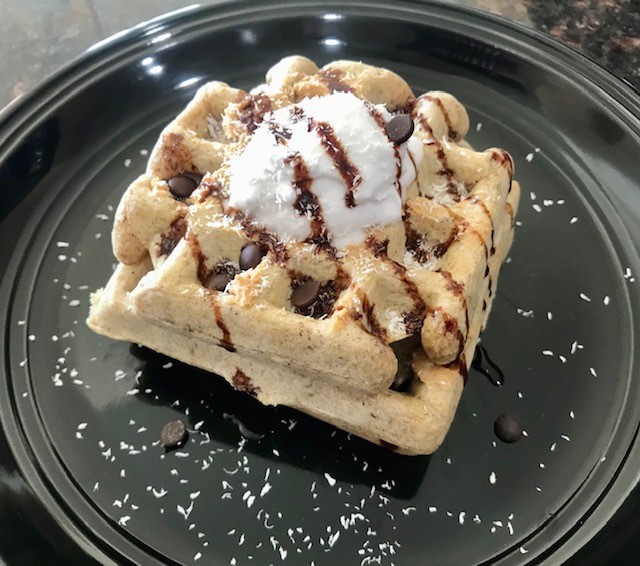
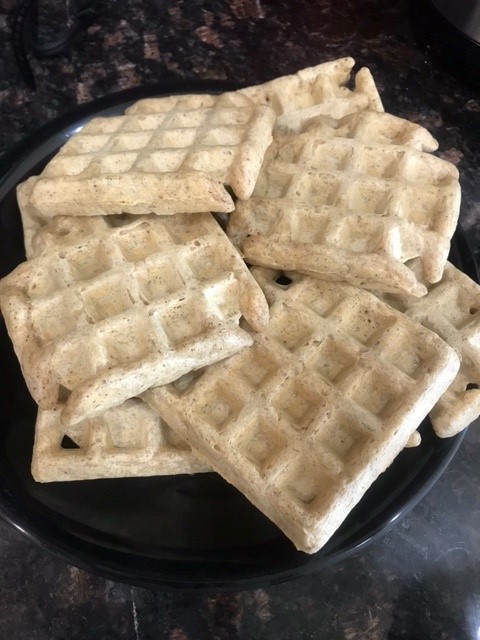
Gluten free plant-based waffles
I know my mother is terrible at making waffles, but she is getting batter.
Out of all the recipes I have on this website, I by far make this one the most. I love waffles! The best thing is that you can eat these in so many different ways. You can add berries or have them with chocolate date syrup with oat chocolate chips and coconut cream! Yummm!!
Ingredients:
2 cups cup non-dairy milk
1/4 cup melted coconut-oil
2 tsp vanilla extract
2 tbsp ground flax seeds
1 tbsp pure maple syrup *(optional)
2 cups gluten free flour blend
1 tbsp baking powder
1/2 tsp baking soda
1 tsp ground cinnamon
1/2 tsp ground nutmeg
1/4 tsp salt
- Whisk wet ingredients in medium size bowl. Add the melted coconut oil last, just before you are about to add to dry ingredients. If not, it will likely begin to harden when mixed with colder ingredients.
- Whisk dry ingredients together. Then add wet ingredients & mix well.
- Ladle mixture into waffle maker. Enjoy!
-----------------------------------------------------------------------------------------------------------------------------------------------------------------
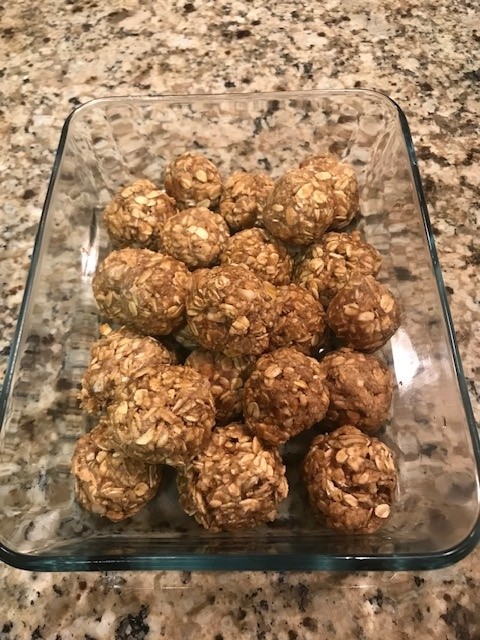
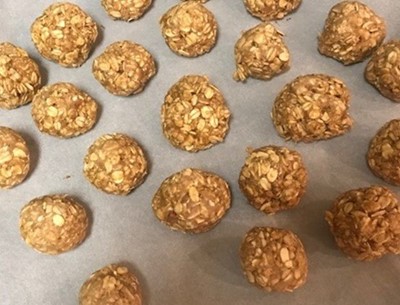
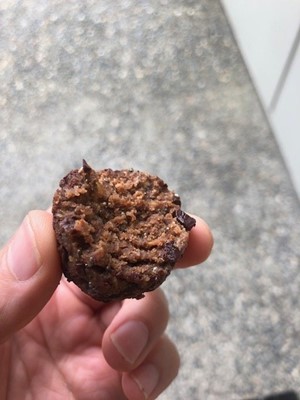
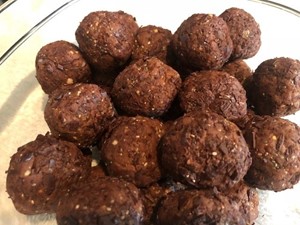
PEANUT BUTTER AND OAT BITES
Did you hear the joke about the peanut butter? -- I'm not telling you. You might spread it!
This recipe is so quick and easy it's nutty (okay, that was bad). The only problem with these is that I cannot stop eating them! These are great snacks to bring on a hike or a road trip, or they can substitute as a sweet desert without having to add a bunch of processed sugar! Five simple ingredients, these are fast and easy - who doesn't like fast and easy?
- Be creative with the sweetener. I typically just use honey, but feel free to use coconut sugar, or sugar substitute, or a combination with the honey!
- You're in charge of the size! Make smaller oat bites for kids, or larger ones for yourself.
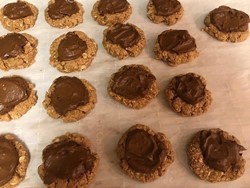
- Add chocolate frosting and make a cookie treat. Place 1-2 avocados and 1 tbl spoon cacao powder to a food processor and mix together. Add maple syrup and coconut sugar or other sweetener to taste to make cookie treats. Shhhh....your kids will have no idea that they are getting vitamins, healthy fats and fiber with each treat! See picture below!
Ingredients:
1 cup peanut butter
2 flax eggs (4 tbsp water / 2 tbsp ground flax seeds)
2 teaspoon vanilla
2 cups oats
1/4 cup maple syrup
Place in food processor and mix. Roll into balls and place on cookie sheet lined with parchment paper. Place in oven at 350° for 8 minutes.
-----------------------------------------------------------------------------------------------------------------------------------------------------------------
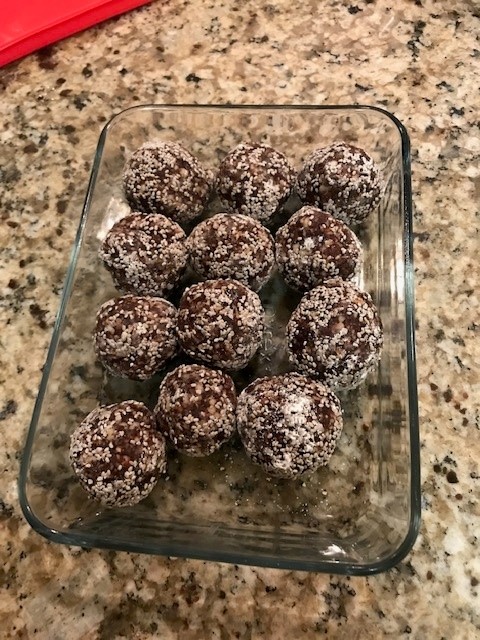
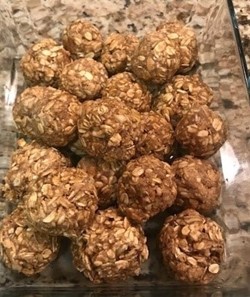
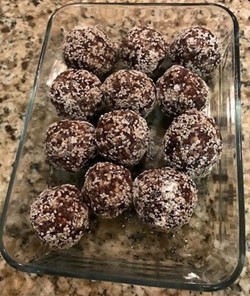
BLISS BALLS
What did the walnut say to the peanut? -- Nothing. Nuts can't talk.
Like the peanut butter oat bites, these are really fast to make, and super good! I first saw bliss balls when I was in Australia and took note of the ingredients so that I could make them when I got home. These are also great snacks or can be used as healthy dessert after meals!
Ingredients:
1 cup almonds
1/2 cup walnuts
1 cup dates (pitted)
1/3 cup cacao powder
1 tsp vanilla
1 tbsp water
2 tbsp white chia seeds
Directions:
Grind almonds and walnuts in a food processor. Add other ingredients and blend until mixed and begins to stick together. Scrape into a bowl and begin rolling into bite-sized balls. Roll the sticky balls in your desired topping and serve!
You can also use a vitamix, but I've found it much easier to scrape the mixture out of the food processor.
- Create your own topping. I usually use white chia seeds (pictured), but I have also used coconut flakes. Get creative!
- Add sweetener if desired. The dates add enough sweetness for me, but kids will love it if you add a little sweetness. In the photo pictured I mixed some white chia seeds with some confectioners sugar replacement and rolled the balls in that.
-----------------------------------------------------------------------------------------------------------------------------------------------------------------
CHOCOLATE PEANUT BUTTER PROTEIN BITES
Why did the farmer buy a brown cow? - He wanted chocolate milk
Be careful with these little guys. They are the lays potato chips of protein bites - you can't eat just one!

- Protein scoop sizes vary. For this I usually just use about 2 scoops of Plant-Based protein (I use Vedge or Sunwarrior). Whichever type of protein you use; experiment, and find the best ratio for you.
- No monkfruit sweetener? You can also sweeten with coconut sugar or maple syrup.
- Can I use almond milk? Yes. Any type of nut milk will work. I usually use coconut milk, but almond, cashew, or oat milk will all work!
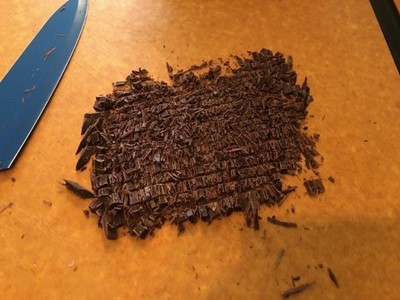
- Chocolate bar. I usually purchase a dark chocolate bar that is 85% cacao.
Ingredients:
50g protein powder
1/4 cup coconut flour
1 tbsp. cacao powder
1 tbsp. chia seeds
3 dates; pitted
1/2 cup peanut butter
1/4 tsp monkfruit sweetener
4 tbsp. coconut milk
1/4 dark chocolate bar
-----------------------------------------------------------------------------------------------------------------------------------------------------------------
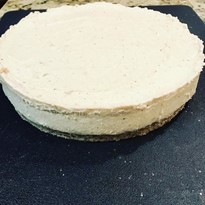
PLANT-BASED CHEESECAKE
[Genie]: "And what will your 3rd wish be? -- [Me]: (slamming my fork down in disgust after my 2nd piece of cheesecake). "Take a wild guess!"
There's two types of people in this world; those that love cheesecake, and those that haven't lived yet. I've always loved cheesecake, but with TONS of added sugar and TONS of dairy...this just isn't healthy. Then I found a way to make a plant-based cheesecake that seriously tastes even BETTER than those dairy, sugar-loaded cakes.
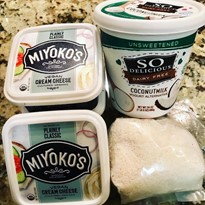

Ingredients:
24 oz vegan cream cheese
1 1/2 cups coconut milk yogurt
1/2 cup coconut butter (or coconut oil)
2 1/2 tsp vanilla extract
1 tbsp lemon juice (optional)
2/3 cup maple syrup
1/4 cup almond flour
Directions:
To make your own crust, use 2 cups almond or pecan flour, 1/4 tsp salt, 4-6 tbsp melted coconut oil OR enough water to make it slightly sticky. Combine all ingredients and pour into a 9 inch springform pan. Spread and press down evenly. Let sit while you prepare filling.
It's best if your cream cheese is at room temperature, as it will beat together with the other ingredients without becoming lumpy. Beat all ingredients together in a processor until smooth. Spread filling on top of crust and let chill in the refrigerator until firm (I like to give it at least 18-24hrs).
- What's coconut butter? Place shredded coconut in a processor or vitamix and blend it together until it forms a butter (the same as you would if you were to make almond butter or peanut butter). I've actually only made this cheesecake while using coconut butter and have not tried it with coconut oil. Let me know how yours turns out if you opt to use coconut oil!
- Do I have to use lemon juice? The lemon juice gives this a more classic cheesecake flavor, without the lemon it has more of a tart taste (I like both ways).
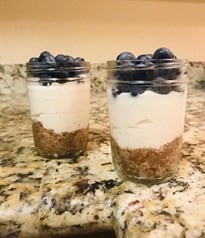
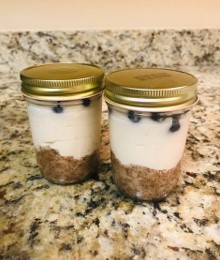
- Make Cheesecake Parfaits! Use small mason jars and press the crust down into them. Pour some cheesecake mix in and let chill in refrigerator. There is no minimum chill time for these. Add your favorite berries to the top and enjoy a cheesecake parfait! (see below)
-----------------------------------------------------------------------------------------------------------------------------------------------------------------
more to come soon...